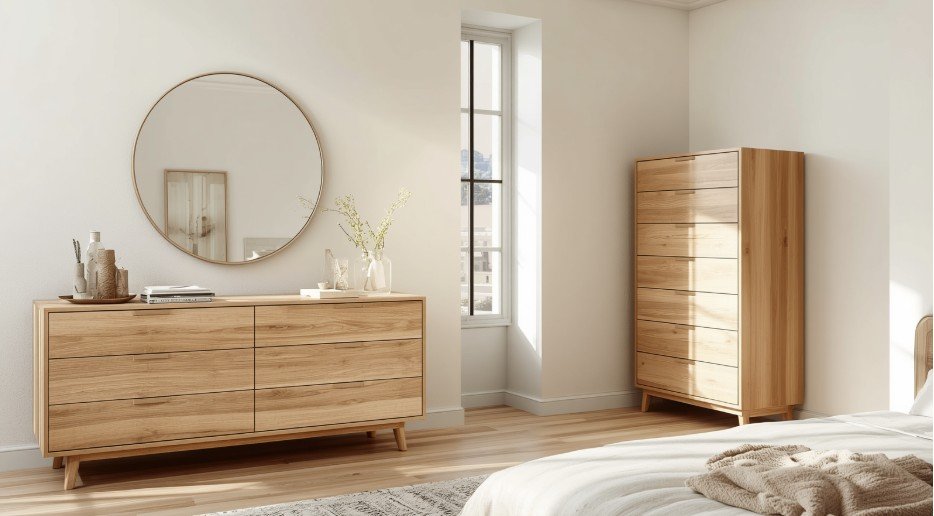
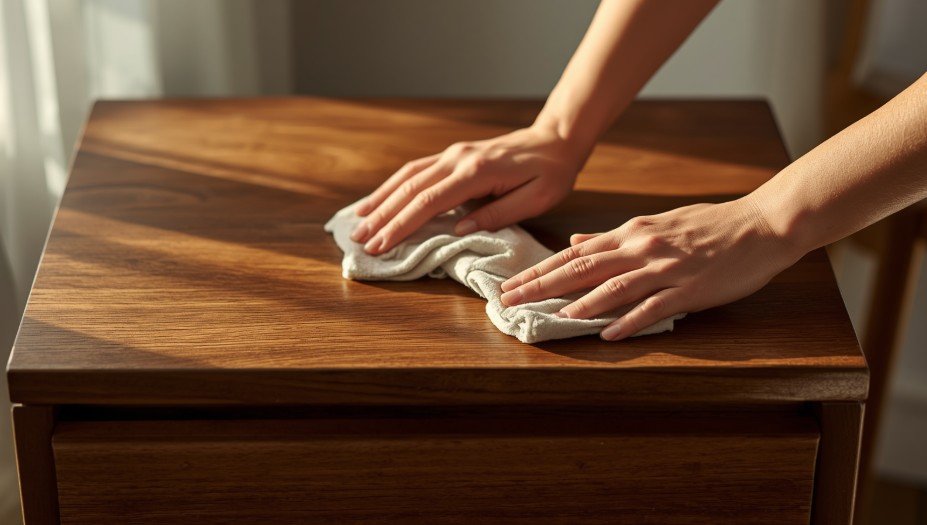
Walking into a bedroom filled with warm, rich wood tones instantly makes the whole space feel like a cozy sanctuary. Walking past a gorgeous walnut dresser that looks dry, dusty, and tired breaks my heart because bringing it back to life is so simple.
Let us look at how to oil wooden bedroom furniture using easy tricks that major home blogs completely miss, ensuring your bedroom oasis stays flawless without any sticky mistakes.
Decode Your Hidden Bedroom Grain
Before grabbing a rag, we need to make sure your nightstand can actually drink what you are pouring.
Many people make the mistake of pouring oil directly onto a modern store-bought bed frame, only to watch it pool up into a slimy mess. Modern factory bedroom sets are typically sealed with a hard plastic shell called polyurethane or lacquer finish. This protective coating blocks anything from getting into the wood, meaning surface oil will just sit on top and gather dust.
To find out if your furniture can absorb oil, simply drop a single tablespoon of water onto an inconspicuous spot like the back of a headboard. If the water beads up into a tight ball after a few minutes, your piece is sealed shut, and a gentle wipe down with a damp cloth is all you need.
If the water slowly sinks in and darkens the wood surface, your furniture has an open pore finish and is absolutely starving for a deep, hydrating oil treatment.
The Ultimate Bedroom Wood Oils
Choosing the right product determines whether your dressers will look like museum pieces or dust magnets.
Pure Tung Oil Magic
Natural pressed tung tree oil is the gold standard for solid wood bedroom sets because it creates a tough, water resistant matte layer. It sinks deeply into dry grain lines and hardens over several days through a natural wood curing process, leaving behind a rich finish that highlights natural wood patterns. It takes a little longer to dry, but the beautiful glow and natural protection are worth the wait.
Flaxseed and Linseed Blends
Boiled linseed oil is a budget friendly option that darkens light woods beautifully and gives them a classic, warm amber tone. It dries much faster than raw versions because it contains added drying agents, making it perfect for weekend bedroom updates. Be sure to use a light touch, as heavy layers can turn slightly yellow over time.
Danish and Hardwax Options
Danish oil is a smart hybrid blend of oil and synthetic varnish that colors, hydrates, and protects bedroom surfaces all at once. If you want a smooth, touchable surface that holds up well against morning coffee mugs on your nightstand, this is the way to go. It offers the natural look of oil along with the durable protection of a light sealer.
Prep Work for a Flawless Finish
The secret to a beautiful glow lies in how well you clean the surface before applying any liquid treatments.
Never apply fresh oils over old bedroom dust, skin oils, or residual wax buildup, or you will trap that grime under the finish forever. Start by clearing off your nightstands and removing all the drawers so you can access the entire frame easily. Wipe down the entire piece with a clean, dry microfiber cloth to remove loose particles and surface hair.
A calm setup matters before any furniture care project, and the same balance found in home office feng shui tips for better productivity can help you create a cleaner, more focused workspace while restoring wooden bedroom pieces.
If the piece has sticky residue or heavy grime from years of use, use a cloth slightly dampened with water and a tiny drop of grease cutting dish soap.
Work in small sections and immediately follow up with a fresh, dry cloth to ensure no water pools on the wood. Allowing moisture to sit can ruin the wood fiber, so keeping things dry is your main goal.
Smooth Things Over With Light Sanding
A gentle rubdown opens up the wood grain and creates the perfect canvas for your chosen conditioning oil.
If the wood grain feels rough or fuzzy to the touch, rub it very gently with fine grit sandpaper between 220 and 320 grit. Always move the paper in the exact direction of the visible grain lines, because scrubbing across the grain creates tiny scratches that become highly visible once oiled. This step removes superficial scratches, old surface wax, and tiny rough spots that ruin the touchable feel of bedroom decor.
Avoid over sanding because you do not want to strip away the historical character or original stain of an antique piece. Once the surface feels as smooth as silk, wipe the furniture thoroughly with a dry tack cloth or vacuum it with a soft brush attachment. Removing every speck of fresh sawdust ensures your oil coat will dry crystal clear and completely smooth.
The Right Way to Coat Your Furniture

Mastering the actual application is incredibly easy when you treat the wood with a generous hand.
Choose your high quality natural drying oil and shake or stir the container thoroughly to mix any settled drying agents. Instead of splashing the liquid directly onto the furniture top, pour a small puddle onto a lint free cotton cloth, a clean foam brush, or a premium microfiber rag. Working on one panel at a time ensures you maintain total control over the wetness of the wood.
Apply a generous, even layer over the timber, rubbing the cloth in smooth circular patterns to force the fluid deep into the open pores. Finish the section by wiping straight along the direction of the grain to level out any pools. Make sure the wood looks completely wet, paying close attention to dry edges and carved details that soak up moisture rapidly.
Soaking Pores and Buffing it Dry
Timing is everything when it comes to letting the wood drink without letting the surface get ruined.
Allow the oil to penetrate deep into the wood grain for about 10 to 20 minutes depending on how dry your bedroom climate is. This window lets the hungry fibers absorb everything they need to restore their deep, natural color tones. Do not walk away or let the oil dry completely on the surface, or it will turn into a sticky, gummy mess that catches lint.
Take a fresh, completely dry lint free cloth and firmly buff the entire surface using broad, energetic strokes. Wipe off all excess oil until the timber feels completely dry to your bare hand and no wet streaks remain. This vigorous buffing is what creates that gorgeous, touchable satin sheen rather than a greasy, fingerprint collecting surface.
Curing Times and Adding Extra Layers

Patience during the drying phase guarantees a durable finish that protects your furniture for years to come.
Allow your freshly treated bedroom investment to cure in a well ventilated room with good airflow for at least 24 hours. Keep your heavy bedside books, alarm clocks, and ceramic lamps off the surfaces during this critical curing window. The oil needs this time to interact with oxygen and polymerize into a solid, protective layer inside the wood cells.
If the wood looks exceptionally dry after a day of resting, you can easily apply a second or third coat using the exact same method. Just remember to wait a full 24 hours between each application to prevent trapping wet layers beneath dry ones. Two thin coats will always look cleaner and last much longer than one single heavy coat.
Frequently Asked Questions
1. What is the best oil to use on wood furniture?
Pure tung oil or premium danish oil blends work best when learning how to oil wooden bedroom furniture. They soak into open wood pores and dry into a hard, protective matte finish that highlights natural grains without feeling greasy.
2. Are you supposed to oil wood furniture?
You should only oil furniture that has an open, unsealed wood finish or an existing oil treatment. Sealed factory pieces with thick polyurethane coatings cannot absorb oil, causing products to sit on top and create a sticky mess.
3. Is Pledge actually good for wood?
Aerosol sprays like Pledge contain silicone oils that create a temporary fake shine but leave a sticky residue behind. Over time, this buildup attracts dust and prevents real wood finishes from ever being repaired or re-covered properly.
4. Is Murphy’s oil soap good for wood furniture?
Murphy’s oil soap is a safe, gentle cleaner for washing away surface grime, but it does not condition the wood. It cleans beautifully but should not be used as a replacement for real curing wood oils.
Wake Up Your Wood to a Gorgeous Tomorrow
Taking the time to understand how to oil wooden bedroom furniture transforms dry, dull dressers into stunning focal points that elevate your entire home. Skipping the cheap grocery store aerosol sprays and using real polymerizing plant oils gives your furniture the deep hydration it deserves.
Once your wooden furniture has a fresh satin glow, styling the bed with how to layer bedding queen bed techniques can make the whole bedroom feel warmer, softer, and more complete.
Enjoy the natural warmth, rich wood scent, and beautiful satin glow of your newly restored bedroom oasis.